From idea to FDM prototype: a practical 3D-printing guide
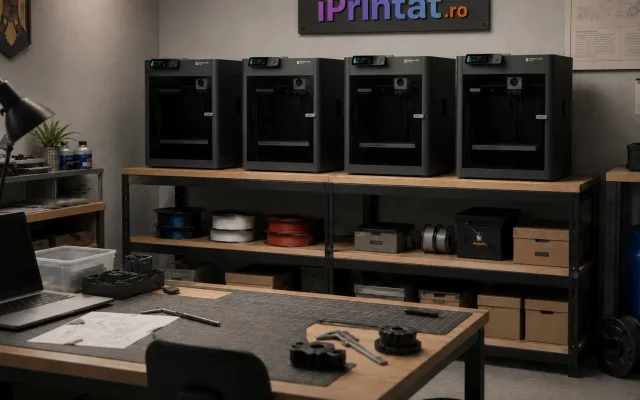
FDM 3D printing — the kind that builds a part layer by layer out of melted plastic — is the fastest, cheapest way to hold your idea in your hands. But the gap between "I have a model" and "I have a part that actually works" is where most first attempts fall apart. Before software, our roots were on a workshop floor, and this is the workflow we still use to take an idea to a solid prototype without burning through spools.
Start with the part, not the printer
The most common mistake is designing a beautiful model on screen and only then asking "can this be printed?" FDM has real, physical constraints, and the time to respect them is while you're still modelling — not after a failed print.
Three rules cover most of it:
- Overhangs need support. Anything that leans out past roughly 45 degrees needs material printed underneath it, which you then have to remove. Design to minimise overhangs and you'll print cleaner, faster parts.
- Walls have a minimum thickness. A feature thinner than two or three nozzle widths either won't print or will be too fragile to survive handling. Give your walls some body.
- Layers are a weak axis. A printed part is strongest within each layer and weakest between layers. Orient the part so the forces it'll face run along the layers, not across them.
Design with these in mind and your first print is far more likely to be your last.
Pick the material for the job
The default material, PLA, is cheap, easy to print, and great for proving that a shape and fit are right. For a prototype whose only job is "does this part fit the assembly?", PLA is usually the correct, frugal answer.
But PLA gets soft in a hot car and can be brittle under stress. If your prototype needs to survive heat, repeated flexing, or real mechanical load, step up to PETG (tougher, more heat-resistant) or ABS/ASA (durable, but fussier to print). Match the material to what the part actually has to endure — over-speccing wastes money, under-speccing wastes a print.
Slice deliberately
The slicer — the software that turns your model into printer instructions — is where a good model becomes a good print. You don't need to master every setting, but a few decide success:
- Layer height trades detail for speed. Fine layers look better and take much longer; for a functional prototype, a coarser layer is often the smart, fast choice.
- Infill is the internal lattice. For most prototypes, 15–25% is plenty; cranking it to 100% just wastes plastic and time for strength you don't need.
- Orientation (again) determines both strength and how much support you'll fight to remove. Spend a minute here and save an hour later.
Iterate fast, then commit
The whole point of FDM is the loop: print, hold the part, find what's wrong, fix the model, print again. A first prototype is supposed to be flawed — its job is to teach you something cheaply. Print small test pieces of the tricky features before committing six hours to the full part. Each cheap iteration buys you a much better final one.
When a print isn't enough
FDM is brilliant for prototypes and small runs, but it has limits — surface finish, fine detail, and certain materials are better served by other processes like resin printing, CNC machining, or moving to proper production once the design is locked.
That's the engineering side of what we do, and it now lives under its own roof. If your idea has outgrown a desktop printer — or you'd rather hand the whole prototype-to-part journey to people who do it daily — take a look at iprintat.ro. Bring the idea; we'll bring it into the world.